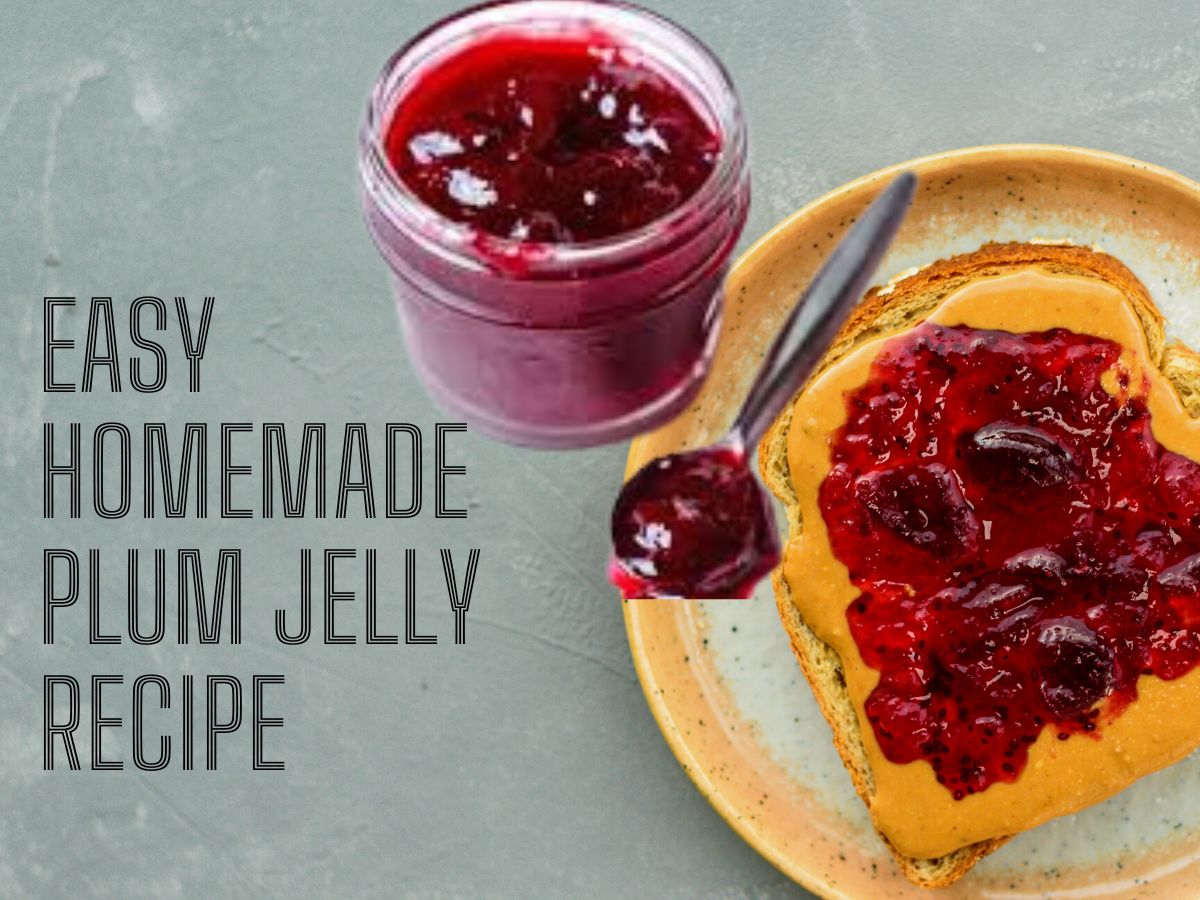
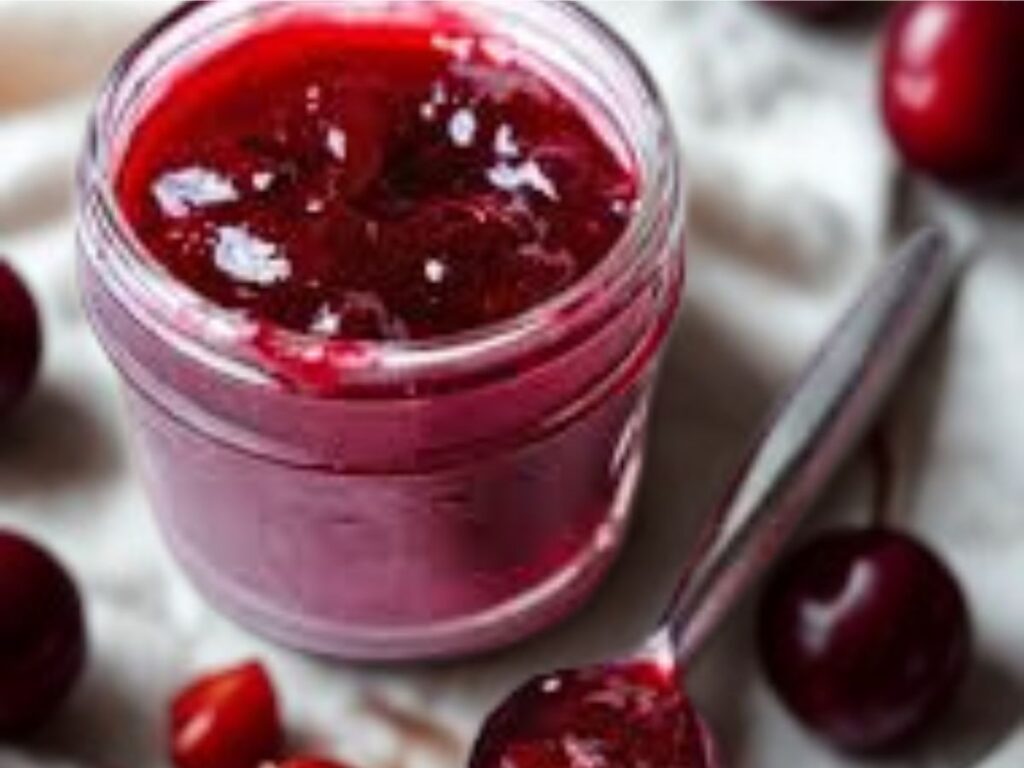
The sweet smell of homemade plum jelly brings me back to my childhood. I would wake up to the delight of warm toast with jelly. Preserving sweet summer fruit is a wonderful way to hold on to the season. With the help of this easy plum jelly recipe guide, I am sure that you will transform any variety of plums into a delightful, tangy jelly that will surely become a favorite.
We have been preserving fruits to enjoy at a later time for countless years. Homemade plum jelly is a great way to enjoy this tradition. It is a wonderful treat for friends and family. It’s silky, transparent texture and vibrant color will wow any audience.
Recipe Overview
| Prep Time | 30 min |
| Cook Time | 45 min |
| Juice Extraction Time | 2-4 hours |
| Total Time | 3-5 hours |
| Yield | 6-8 half-pint jars |
| Difficulty Level | Medium |
| Cuisine | American Traditional |
Plum jelly is flexible! Adjust the sweetness, use different kinds of plums, and add new flavors such as vanilla and even cinnamon. This recipe is perfect for modern low-sugar jellies and for the high sugar method for jellies.
Essential Ingredients
Basic Plum Jelly Recipe with Pectin
- Fresh plum juice (strained) 4 cups
- Powdered pectin 1 package (1.75 oz)
- Granulated sugar 5½ cups
- Butter 1 tbsp (optional, reduces foaming)
Alternative Options
For Low Sugar Plum Jelly:
- Plum juice 4 cups
- low-sugar pectin 1 package
- Granulated sugar 2-3 cups (to taste)
For Wild Plum Jelly Recipe:
- wild plums 3 lbs (smaller, more tart)
- Water 1½ cups
- Standard pectin and sugar ratios
For Italian Plum Jelly:
- Italian prune plums 4 lbs
- Balsamic vinegar (optional) ½ cup
- Vanilla extract 1 tsp
Step-by-Step Method
Juice Extraction
- wash plums under clean running water, sort out any stems, leaves and rotten plums. There’s no need to remove the pits or skin at this stage.
- Add plums and water in a heavy bottom pot at medium to high heat once it reaches a boil set the medium flame and cook for 15-20 minutes, occasionally stirring and softening the plums with a wooden spoon, has to be done.
- Cool the mixture at room temperature remove pits and make a fine mixture by using mesher or blender and strain the mixture with muslin cloth to get clear and pulp free juice. If you want your jelly to be clear, avoid pressing the pulp too much. This could take 2-4 hours, and you want the best results, so you want to avoid pressing on it.
- Ideally, you would have 4 cups of clear plum juice. If you have less than that, add water to meet 4 cups. If you have excess juice, you can reduce it by simmering, or you can skip the simmering to save it for another batch.
Making the Jelly
- Firstly sterilize your jars and lids by boiling for 10 minutes. and then totally dry them with clean kitchen towel.
- Now take a large pot pour plum juice and pectin in it , whisk them both until pectin completely dissolved. Then add lemon juice in mixture for brightness and acidity.
- Now bring it to a boil Over high heat and constant stirring, heat the mixture to a rolling boil that cannot be stirred down.
- Pour the sugar all at once and stir vigorously. Bring to a rolling boil once again and cook for 1 minute, stirring constantly.
- now take a small amount and put it on a cold plate. It is ready when it wrinkles and keeps its shape. Keep boiling until the desired texture, continuously check after 30 seconds
- Now turn off flame, skim the foam off for clarification, and can add butter for a glossy look
Canning Process
- Now fill hot sterilized jars with jam by using ladle ,keep in mind to leave ¼ inch headspace, and wiping the jar rims with a damp cloth to ensure a clean seal.
- Place lids on jars with rings, tightening finger-tight, and Process in a boiling water bath for 10 minutes (Altitude adjustments may be needed).
- Jars should be cooled on a towel-lined surface, and after 24 hours, the seal should be checked. Seals should be tight, and lids should not flex when pressed.
Plum Jelly Recipe Without Pectin
- For those looking for the most natural method of making jelly, here is how to make plum jelly using your fruit’s natural pectin:
- Use 25% under ripe plums for higher natural pectin.
- After the juice extraction, simmer it for 20-30 minutes along with sugar, using a 1:1 ratio. Stir it frequently.
- After the 15-minute mark, use the plate test every 5 minutes. Natural pectin jelly takes longer to set, but it is worth the wait for the more robust taste.
- You can use apple peel wrapped in cloth for extra natural pectin during the initial plum cooking stage.
Serving Suggestions and Storage Guide
Serving Ideas
Plum jelly is perfect for more than just spreading on toast/bread. Here are creative ways to use it:
- Breakfast Pairings: Add to yogurt, oatmeal, or pancake batter
- Savory Applications: Use as a glaze for pork tenderloin or duck breast
- Dessert Component: Use to fill thumbprint cookies or layer in trifles
- Cheese Board Addition: Pairs beautifully with aged cheddar and goat cheese
Storage Guidelines
- Short-term Storage: Opened jars keep in the refrigerator for up to 3 weeks. Always use clean utensils to prevent contamination.
- Long-term Storage: Sealed and processed jars retain quality for 18-24 months when stored in cool and dark pantries. For optimal quality retention, store jelly for 18-24 months in a range of 50-70°F.
- Freezer Storage: For up to 12 months, plum jelly safely freezes. Ensure to leave headspace in containers for expansion during freezing.
Temperature Guidelines
- Serving Temperature: For maximum flavor release, serve at room temperature.
- Storage Temperature: For best quality, store in the pantry at 50-70°F and refrigerate at 32-40°F.
- Processing Temperature: During water bath canning, the temperature must remain at 212°F.
Alternative Methods and Variations
Easy Plum Jelly Recipe (Simplified Method)
- For those still learning, this approach makes it easier:
- For easier mixing, use liquid pectin instead of powdered pectin.
- Purchase quality plum juice at the store instead of extracting the juice.
- Although the ratios remain the same, you can cut the cooking time.
Ball Plum Jelly Recipe Method
Using Ball canning guidelines:
- Use Ball pectin meant for low-sugar recipes.
- For safety and consistency, use their tested ratios.
- Process based on Ball’s altitude adjustments relative to your location.
Low Sugar Adaptations
For contemporary health-aware adjustments:
- Use honey or maple syrup for half of the sugar.
- Use sugar substitutes for canning.
- For no-sugar pectin, try options for people with diabetes.
Nutritional Information
| Calories | 48 kcal |
| Total Carbohydrates | 13g |
| Sugars | 12g |
| Protein | 0g |
| Fat | 0g |
| Fiber | 0g |
| Sodium | 1mg |
*Per 1 tablespoon serving of traditional plum jelly
Nutritional Benefits:
Antioxidants: Plums offer vitamin C and anthocyanins.
Natural Fruit Sugars: Quick energy source
Vitamin A: Supports eye health
Potassium: Heart health support
Low Sugar Version reduces calories to approximately 25 per tablespoon while keeping the benefits of the fruit.
Frequently Asked Questions
What is the secret to making jelly?
The secret to perfect plum jelly recipe is balanced acid, the right ratio of sugar to fruit, and the right temperature to gel (220°F at sea level). For the best natural pectin, always use a combination of ripe and slightly underripe fruit. Don’t forget the lemon juice; it activates the pectin and preserves the color.
How to make Plum Jam at home?
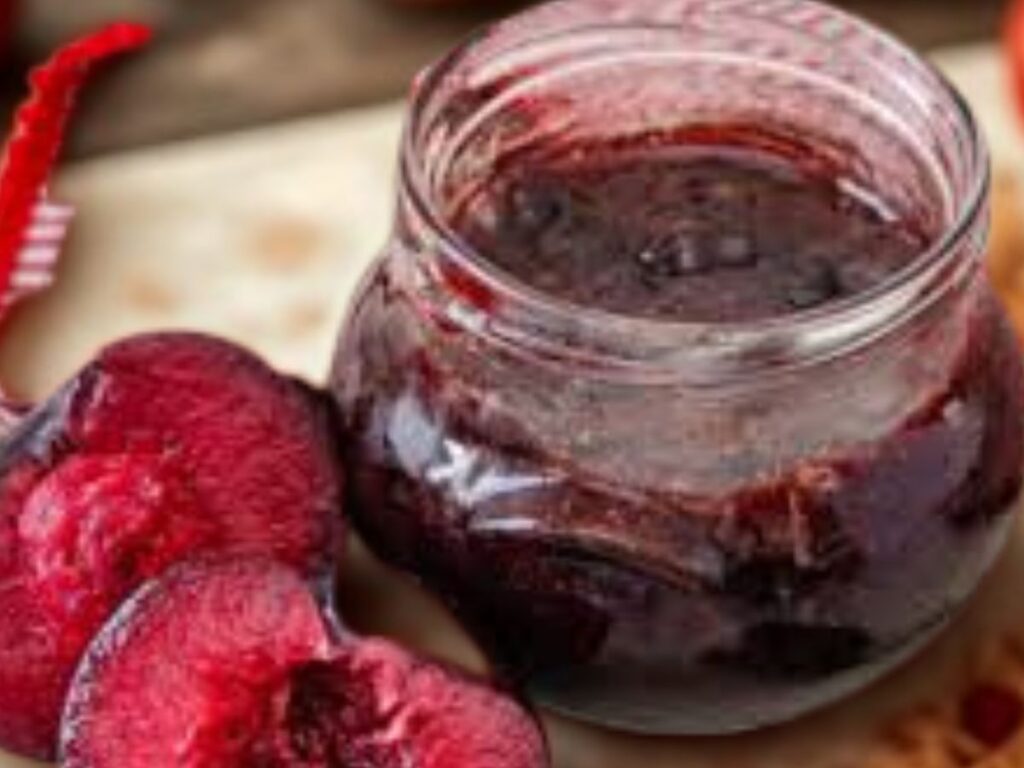
This guide focuses on jelly, but plum jam is similar and retains fruit pieces. Use the same first cooking method, but don’t strain completely; keep some fruit pulp in the mixture. Break the plums down more in cooking, and limit the straining time to keep the texture.
Do you take the skin off plums for jams?
Peels are not needed in the preparation of jelly as they are removed in the straining phase. For jam, the skins can be left on as they enhance the nutritional value and the color of the jam. They will soften as the jam cooks and will contribute to the texture of the jam. Wild plums offer significant benefits in skin care because of the tannins and pectin they contain.
How long can you keep plum jelly?
Canned plum jelly can be stored in the pantry for 18-24 months. Once the jelly is opened, it can be stored in the refrigerator for 3-4 weeks before it goes bad. Signs of spoilage include mold, off odors, and texture changes. The jelly can be frozen for up to 12 months without significant quality loss.
Can I make jelly recipes in larger quantities?
You should not double jelly recipes because of the effect it will have on the cooking time and the gel formation of the jelly. For consistent results, it is better to make single batches. When the mixture is too large, it takes too long to reach the correct temperature, which can make the jelly unusable and potentially dangerous.
What if my jelly doesn’t set?
If the jelly didn’t set after 24 hours, you can still remake it. Measure the liquid jelly, and for every cup, you will need 1 tablespoon of sugar and 1 ½ teaspoons of powdered pectin. Please bring it to a roaring boil for 30 seconds and recan using the proper procedure.
Can I use frozen plums?
Frozen plums are excellent for making jelly. Be sure to thaw them completely and use them; you will notice that they will cook down a lot quicker, which is a good thing for juicing. Don’t drain the thawing liquid – it is part of the water you need to measure.
Conclusion
Homemade plum jelly is a masterpiece that preserves the rich taste of the fruit and brings joy all year round. The pectin method is the best, but you can still use wild plums as low-sugar variations. Remember, it will always be the same good fruit, the same good proportion, the same cooking time, and the same good attention.
There’s something wonderfully nostalgic about making your own plum jelly by following our plum jelly recipe. The satisfaction it brings is in the familiarity of the Process – the jelly’s perfect consistency, the soft pop the lid jar makes when you open it, the smell it releases, and the taste is even better. It is concentrated plum nectar in a jar. The recipe provides a few alternatives to suit other ingredients, tastes, and skills.
Remember, making jelly is both a science and an art. It is okay if the first batch is not perfect. Every try will teach you about your jelly-making tools, the geography of your location, and the local fruits. Writing down every detail will save you a lot of time in the future, and you will be consistently making fabulously plum jelly.