
The smell of sweet fried dough with cinnamon and sugar reminded me of summer carnivals, state fairs, and boardwalk adventures. Perfectly layered elephant ear pastries evoke pure nostalgia and indulgence, and yummy fried dough! I love the extra crunchy edges and sweet center! No wonder this simple dessert is a favorite with people of all ages.
You can whip up mouthwatering Elephant Ears in the comfort of your own home. All you need is a free large pot or deep fryer. The ingredients are very basic—just some flour, yeast, milk, and a few common ingredients in your cupboard- and you are on the way to making Elephant Ears. No matter if you grew up calling the fried dough, fried dough, or palmiers, the hot, golden, sweet, and crispy fried dough will be loved by all.
In this guide, I will teach you everything there is to know about Elephant Ear Pastry. This includes its many different origins and cultures it stemmed from, to the detailed instructions on how to achieve the best results in your own home. I will be covering the recipes and the variations of the recipes, including Italian and Mexican recipes, the nutritional aspects, and the fine details that will guarantee your homemade Elephant Ears are of the same quality you would buy at a carnival. Get ready to recreate the fair food experience.
Recipe Overview
| Prep Time | 20 min |
| Rising Time | 60 min |
| Cook Time | 15 min |
| Total Time | 1 Hour 35 Minutes |
| Yield | 8 Large Elephant Ears |
| Difficulty Level | Easy |
| Cuisine | American/Carnival Fair Food |
Each of these treats comes out with a perfectly balanced texture, which means crispy and golden edges and a soft, chewy center. Yeast dough takes longer to prepare and cook; however, the result is worth the time for the added flavor, texture, and dough consistency. For those times when a carnival is on your mind, I’ll tell you how to prepare the dough with added time-saving measures. Each treat is a good size for sharing and measures 8-10 inches.
Once you learn the technique of making these treats, you can make any of the toppings and fillings that you want! You can even add a chocolate or fruit spread. The dough is thick and handles nicely, which makes it easy for you to add the kids.
Pastry Origin
Each time you enjoy your treat, understanding the origin can make you appreciate it even more. Having different variations of the treats offers a nice addition to your experience.
American Fair Food Evolution: In the 20th century, American carnival foods included elephant ears, which were influenced by PA Dutch funnel cakes and Native American fry bread. They got the name elephant ears because the fried, stretched dough resembles an ear and is irregular in shape.
Italian Connection: The elephant ear pastry in Italy can be traced back to “orecchiette” (little ears) and other fried dough desserts from southern Italy. Italian immigrants to the US brought these, and American-sized carnival treats began to be made.
Mexican Heritage: In Mexico, fried dough treats like buñuelos and sopaipillas, which are also elephant ears, can be traced back to Spanish and indigenous Mexican cooking. They are thinner and crispier than American versions.
Global Variations: Around the world, other cultures have created fried dough desserts that are similar. In Canada, beaver tails, Hungary has lángos, and South Africa has vetkoek.
The elephant ear of today has many cultural influences and is uniquely American and is a tribute to the many culinary traditions that have helped create it.
Ingredients
For the Dough
- 3½ cups all-purpose flour, plus more for dusting
- 2¼ teaspoons instant yeast (1 packet)
- ¼ cup granulated sugar
- 1 teaspoon salt
- 1 cup whole milk, warmed to 110°F
- 3 tablespoons unsalted butter, melted
- 1 large egg, room temp
- 1 teaspoon vanilla extract
For Frying
- 2 quarts of vegetable oil or 2 quarts of canola oil
- For neutral oil with a high smoke point
- Classic Cinnamon Sugar Topping
- 1 cup granulated sugar
- 2 tablespoons ground cinnamon
- 2 tablespoons melted butter (to brush)
Elephant Ear Pastry Ingredients Breakdown
Each has a specific purpose:
- Flour: Provides structure
- Yeast: Adds authentic flavor
- Sugar: Feeds yeast, dough, and provides sweetness.
- Milk: Enhances tender texture
- Butter: Adds flavor and softness
- Egg: Adds rich and browning
- Salt: Enhances all
Topping Options
Sweet Variations:
- Powdered sugar
- Cinnamon, sugar, and nutmeg
- Chocolate hazelnut spread
- Drizzle with caramel
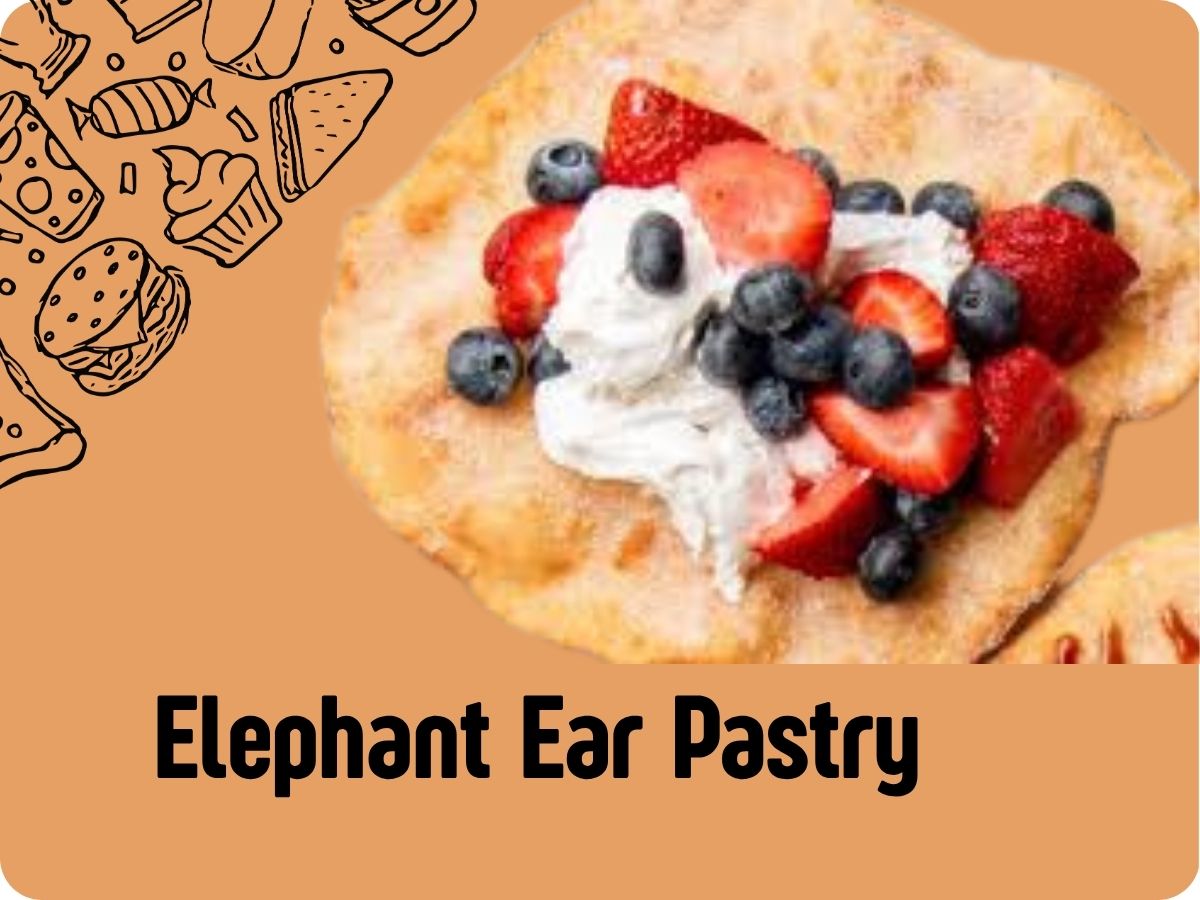
- Fresh fruit with whipped cream
- Lemon sugar (zest mixed with sugar)
- Apple pie spice
- Plum jelly or jam
Savory Options:
- Garlic butter and parmesan
- Everything bagel seasoning
- Taco seasoning and cheese
- Herb blend and olive oil
Alternative ingredients:
- Mix in 1 teaspoon of cinnamon into the dough.
- Use orange zest instead of vanilla.
- Finish with a generous amount of honey, cinnamon sugar, and a drizzle of honey.
- Finally, please give it a squeeze of fresh lime.
Italian-Style Variation
- Add 2 tablespoons of orange zest to the dough.
- Use olive oil for frying.
- Dust with only powdered sugar.
- Accompanied by an espresso for dipping.

Step-by-Step Method
Phase 1: Making the Dough
Activate Yeast: Mix warm milk (110°F for 5-7 minutes and stick a thermometer in it to check), 1 tablespoon of the sugar, and the yeast in a small bowl. Gently stir and set aside to rest. It should be foamy and bubbly when it is done. 5-7 minutes. If it is dead or the milk was too hot, you need to throw it out and start over.
Mix Dry Ingredients: Take a large mixing bowl, add flour and sugar, and salt. Whisk, then create a well in the center.
Mix for the Wet Ingredients: Cast the bowl aside for the dry ingredients. Mix the melted butter, egg, and vanilla.
Mix to Form the Dough: Pour the yeast mixture and egg mixture into the well of dry ingredients. Take a wooden spoon or a dough hook and set it to slow speed. Mix until a shaggy dough forms.
Knead to Perfection: Place the dough on a surface that has a light dusting of flour and knead the dough by hand for 8–10 minutes, or for 5-6 minutes with a stand mixer on medium speed with a dough hook attached. As you knead, the dough will need to be smooth and elastic. If you notice that the dough is becoming sticky, add flour in 1 tablespoon increments and keep kneading.
First Rise: Shape your dough into a sphere, then place it in a bowl that has been greased, turning the dough to coat all sides. Cover the dough with a damp towel or plastic wrap and let it rise in an area that is warm and free of drafts for around 1-1.5 hours. Your dough should double in size.
Phase 2: Shaping the Elephant Ears.
Punching Down: After the dough has risen, it is time for you to punch the dough down to release the gases. Place the dough on a lightly floured surface.
Dividing Dough: Cut the dough into 8 equal parts that are roughly 3 ounces each. Each portion should be shaped into a smooth ball.
Rest Period: Cover the dough with a towel and let it sit for 10 minutes. This makes the dough easier to stretch.
Stretch to Shape: To start, take one piece of dough, press it down with the palm of your hand, and then use your fingers to stretch and pull the dough. You want to form it into a large, irregular oval or round shape, and it shouldn’t be thicker than ⅛ of an inch. The shape doesn’t need to be perfect. Edges that are a bit jagged are a good thing and will get extra crispy.
Create Texture: To get extra crispy elephant ears, take a fork and make holes all over the dough. This will keep large air pockets from forming during the frying.
Phase 3: Frying
Heat Oil Properly: The frying pot should be heavy and set to contain 2-3 inches of oil. Heat that oil over medium-high heat. It should reach 375 degrees on a candy or frying thermometer. This is an important step. If the temperature is too low, the elephant ears will absorb too much grease. If it is too high, the ears will burn.
Test the Oil: To test, drop a piece of excess dough into the oil. It should sizzle and rise to the top in a few seconds.
Fry First Side: Take one piece of the stretched dough and carefully slide it into the hot oil. It should sink for a few seconds, then rise to the top and start frying. The first side will take a good 60-90 seconds to reach a deep golden brown.
Flip and Finish: Use long tongs or a spider strainer to flip the elephant ear carefully. Fry the second side for another 60-90 seconds until equally golden and crispy.
Drain Excess Oil: Remove from oil and let drain on a wire rack set over a baking sheet or on paper towels. The wire rack method keeps them crispier for longer.
Immediate Topping: While still hot, brush them with melted butter and sprinkle with cinnamon and sugar. The butter helps the sugar stick and adds flavor.
Repeat Process: Continue frying the remaining dough pieces, allowing the oil to return to 375°F between batches.
Phase 4: Serving
Serve Hot: Elephant ears are best when served immediately and still warm and crispy. The texture changes as they cool.
Present with Style: Serve on large plates or parchment paper cut into large pieces. For the authentic experience, fold them in half for easier handling.
BOUNCING THE ELEPHANT EAR PASTRY LEGOLAS
This approach right here is best for when you’re the type to value instant gratification over waiting for browned zombie dough to rise.
QUICK VERSION WITH BAKING PWD
INGREDIENTS
- All Purpose Flour: 2 Cups
- Baking Pwd: 2 ts
- Salt: ½ ts
- Sugar: 2 tb
- Milk: ¾ cup
- Butter: 2 tb (melted)
- Egg: 1
METHOD
- Stir the dry stuff together.
- Belt together the wet stuff.
- Drop them together and knead only temporarily to smooth.
- Cut them up and stretch, then fry right away, 375 for the rest for 20 minutes
Serving Suggestions and Storage Instructions
Classic Presentations:
- The traditional ones with extra cinnamon sugar on the side
- Dusting powdered sugar with a sieve and a fine finish
- Drizzling down with chocolate or a caramel topping
- Dessert? Top with vanilla ice cream!
Gourmet Twists:
- Nutella and slice strawberry
- Cream cheese frosting and a fruit compote
- Dulce de leche with sea salt
- Lemon curd and berries
- Peanut butter, banana, and a slice
Savory Applications:
- Garlic wins in butter with warm marrow as a dip
- Pulled pork or chicken as a BBQ
- Breakfast? Top with scrambled eggs and cheese
- Pizza style with sauce, cheese, and pepperoni
Reheating Instructions:
- Oven: Best option to regain crispness. Set to 350°F for 5-7 minutes
- Toaster oven: 3-4 minutes at medium
- Air fryer: 350°F for 2-3 minutes. Great for texture revitalization
- Microwaves are not for reheating. They zap crispness and leave a cumbersome texture
Freezing Options:
- Frozen uncooked dough will last 3 months. Store in plastic wrap as dough balls.
- To thaw: Keep in the refrigerator overnight. Afterward, let them get to room temperature for easier stretching and frying.
- Elephant ears will not freeze well once cooked, and the texture will be lost.
Tips and Tricks
- Elephant ear bar with a ton of different tops
- Mini versions for easier serving at occasions
- Strip for dipping in chocolate or caramel
- A ton stacked multiple with layers of filling, and for a bold filling
- Up to 24 hours at room temperature in a sealed container against short-term loss the air crispy.
Dough Preparation:
- Dough can be made ahead of time and refrigerated after your first rise for 24 hours.
- Take the dough out and let it get to room temperature again before shaping and frying.
- Stretched, uncooked pieces can relax for 10-15 minutes before frying.
Temperature Guides:
- Frying oil will reach 375°F: Critical for even frying.
- Serving temp is 120-130°F: Warm but safe to handle.
- Room temp in a dry environment for storage.
- Reheat in the oven to 350°F until warmed through.
- Unsafe to eat after 2 hours of room temperature exposure.
Alternative Cooking Methods
Baked Elephant Ears:
- While not traditional, baking significantly reduces calories.
- Preheat oven to 425°F and stretch and shape your dough as directed.
- Place on parchment-lined baking sheets coated with melted butter.
- Bake 10-12 minutes until golden and puffed. Brush with butter and cinnamon sugar immediately after baking.
Result: Lighter, less greasy, but without the characteristic crispy-fried texture.
Air Fryer Method
For smaller portions with less oil:
- – Set the air fryer to 375°F.
- – Gently oil the top of the stretched dough.
- – Air fry for 5-6 minutes, turning it over at the halfway point.
- – Afterward, brush with butter and add the desired toppings.
Note: Because of the air fryer’s small size, you might have to make smaller versions.
Stovetop Griddle Method
- This gives you the option to have something in the middle of fried and baked.
- – Place a large griddle or cast-iron pan on medium heat.
- – After a few minutes, brush the pan with oil.
- – For the dough pieces, 3-4 minutes for each side will suffice.
- – Again, brush with butter and add toppings.
Result: Less greasy than a deep fry, and crispier than baked bread, but the texture is different.
Nutritional Information
| Calories | 385 kcal |
| Total Carbohydrates | 56g |
| Sugars | 18g |
| Protein | 7g |
| Fat | 15g |
| Fiber | 2g |
| Sodium | 320mg |
*Per serving (1 large traditional elephant ear with cinnamon sugar)
Portion Control Tips:
- Share one elephant ear with 2-3 people.
- Cut into quarters for reasonable serving sizes.
- Skip butter brushing to save 50 calories.
- Use sugar alternatives to reduce sugar content.
Nutritional Context: While elephant ears are indulgent treats, they’re comparable to other desserts. Enjoy occasionally as part of a balanced diet.
Frequently Asked Questions
What is another name for elephant ear pastry?
Depending on where you are in the world, Elephant ears have many different names. In other places, people call these treats “fry bread,” “frying dough,” “beaver tails” (in Canada), “frying saucers,” and “whale tails.” Some people use the name “palmiers,” but these are different than the French palmiers. In some Mexican communities, they call the Elephant ears “buñuelos,” and they relate to “zepolle” in Italy. Regardless of name, they all refer to large, flat pieces of fried dough covered in some sweet coating.
Are funnel cakes and elephant ears the same?
No, funnel cakes and elephant ears are different types of carnival treats. Funnel cakes are made by pouring batter through a funnel in a circular, lacy pattern, resulting in crispy, interconnected ribbons of fried dough. Elephant ears are made with a yeast or baking powder dough, which is fried flat as a single piece. Funnel cakes and elephant ears are both delicious, but the preparation methods and final textures differ significantly.
Why do we call fried dough elephant ears?
Elephant ears are a type of fried dough that is so named as a result of their unique shape and form. When dough is flattened and fried, it forms large, irregular ovals with rippled borders that closely resemble an elephant’s ear. Not only does it resemble an elephant’s ear, but these pastries are 8-12 inches across and are considered large and impressive, further justifying the name. It is believed that the name started as part of American carnival culture in the 1900s, as carnival vendors needed a catchy name that was whimsical and reflected the fun nature of the food.
Can I make elephant ears without yeast?
Absolutely! You can prepare really great elephant ears without yeast. For a quick version, you can use baking powder. The result may differ slightly in consistency and flavor as the elephant ears will be somewhat chewy, but they will be really good. Use 2 teaspoons of baking powder for 2 cups of flour, disregard the rising time, and fry as soon as you mix. It is a great substitute for last-minute cravings.
How do I keep elephant ears crispy?
To keep elephant ears crispy, the best thing you can do is keep them hot and serve them immediately after frying. If you have to wait, try to set them on a wire rack where air can circulate, rather than a plate. This way, you avoid stacking them, and the bottom will not get soggy from steam. Don’t cover them; crispiness is lost when moisture gets trapped. When you are reheating elephant ears, use an air fryer or oven. We have to face it; fried foods, including elephant ears, are best eaten when fresh, but there are techniques to store and reheat them that can help keep the texture.
What’s the best oil for frying elephant ears?
The best oils to use are vegetable, canola, and peanut oil. This is because they have neutral flavors and high smoke points, around 400°F. Stay away from frying with olive oil and butter. They have low smoke points and will give your frying oil a strong flavor. Make sure your oil is clean and new; reused oil can give your food off flavors. You will need 2 to 3 inches of oil in your pot so the elephant ear can float freely. Keeping the oil at a temperature of 375°F is the most important, so the specific type of oil you use is not as important.
Can you make elephant ear dough in advance?
Yes, you can make elephant ear dough in advance, and you should! Once you make elephant ear dough and allow it to rise for the first time, you’ll punch it down, wrap it up, and refrigerate it for a day. This “cold fermentation” takes the flavor to a whole other level! Just thaw the dough for 30 minutes to room temperature, and it’s ready for shaping and frying. You can also make the dough into small balls and freeze them for 3 months! Just remember to take them out and put them in the refrigerator the night before you want to use them.
Where can you get elephant ear pastries from?
Unlike many other foods, elephant ear pastries are rarely sold in brick-and-mortar restaurants. Instead, you’ll find them sold in carnival food stalls, amusement parks, and county fairs. During festival season, you can search for food stalls offering “elephant ears” or “fair food” in your area. But you can make them at home, and it’s super simple. That way, you can have them anytime you want, and not just during carnival season!
Conclusion
The Elephant ear pastry is more than fried dough and sugar. It reminds me of summer, childhood, and the bliss of eating something super delicious. There’s no fuss about it. It’s a wonderful carnival treat and everyone of every age can appreciate the wonderful crunch of the crispy edges and the tender, pillowy dough. And then, there’s a shower of sweet cinnamon on top.
When you make elephant ears at home, it takes away the carnival magic and shows you how easy it is, and how no special skills are needed. For the dough, you can use the yeast method, which takes longer but has a more complex flavor, and then there’s the quick baking powder method, which works when you need it fast.. Either method, and you’re going to surprise yourself with wonderful homemade carnival treats because you can make these any time you want, and don’t have to wait for the summer fair.
Elephant ears are a tasty treat that can be found at a variety of fairs. They come from different cultural backgrounds, and it is interesting to know where they come from. They are interesting to know where they come from and to gain appreciation with every bite. The American elephant ear is a culinary fusion that is a true American dessert. It is a perfect example of fusion cuisine. It takes traditions from other cultures and makes them American. It is a perfect example of culinary fusion.
This dessert can be a base for a variety of different toppings. There are many different ways to eat and create new versions of this dessert with chocolate and fruit, or sticking to a classic savory version. The basic recipe is a good way to start experimenting. The best part about this is that it can be fried or baked. The possibilities are endless.